
Growing microgreens at home can be both entertaining and fulfilling. They offer the advantage of harvesting nutrient-rich fresh greens within one to three weeks from planting. Over forty varieties of microgreens are currently being grown at home, some of the most popular species include radish, lettuce, and kale. Growing microgreens at home can be an ideal alternative to buying expensive vegetables from supermarkets.
Equipment Required
To grow microgreens, one needs a variety of equipment that will ensure the proper growth and harvesting process. One must first buy a growing tray to house the seedlings. The growing trays come in many sizes, depths, and materials such as plastic, metal, and wood. When buying the tray, one should take into consideration whether or not it has drainage holes and is waterproof.
Another essential thing required to grow microgreens at home is a growing medium. The growing medium provides nutrients to the seedling as well as helps to retain moisture. It can be made up of a mixture of peat moss and vermiculite. However, there are commercial growing mediums sold specifically for growing microgreens.
The last and equally important piece of equipment needed for growing microgreens at home is a light source. Since microgreens grow relatively quickly and cannot withstand direct sun rays, artificial light can be used for their development.
Selecting and Preparing Seed
A crucial part of microgreens growing at home is selecting the right seed. One must buy only good quality seeds for the crop of microgreens. Several varieties are available commercially and one can select the seeds according to the preferred variety. Such factors as germination rate, number of days to harvest, and resistance to disease and insects can be taken into consideration.
It is very important to strictly follow the packaging guidelines of preparing the seeds for planting. Some seeds, such as those of radish, can be planted without prior treatment. However, others, such as lettuce and kale, must undergo a 24-48 hour soak to initiate germination.
Planting Microgreens
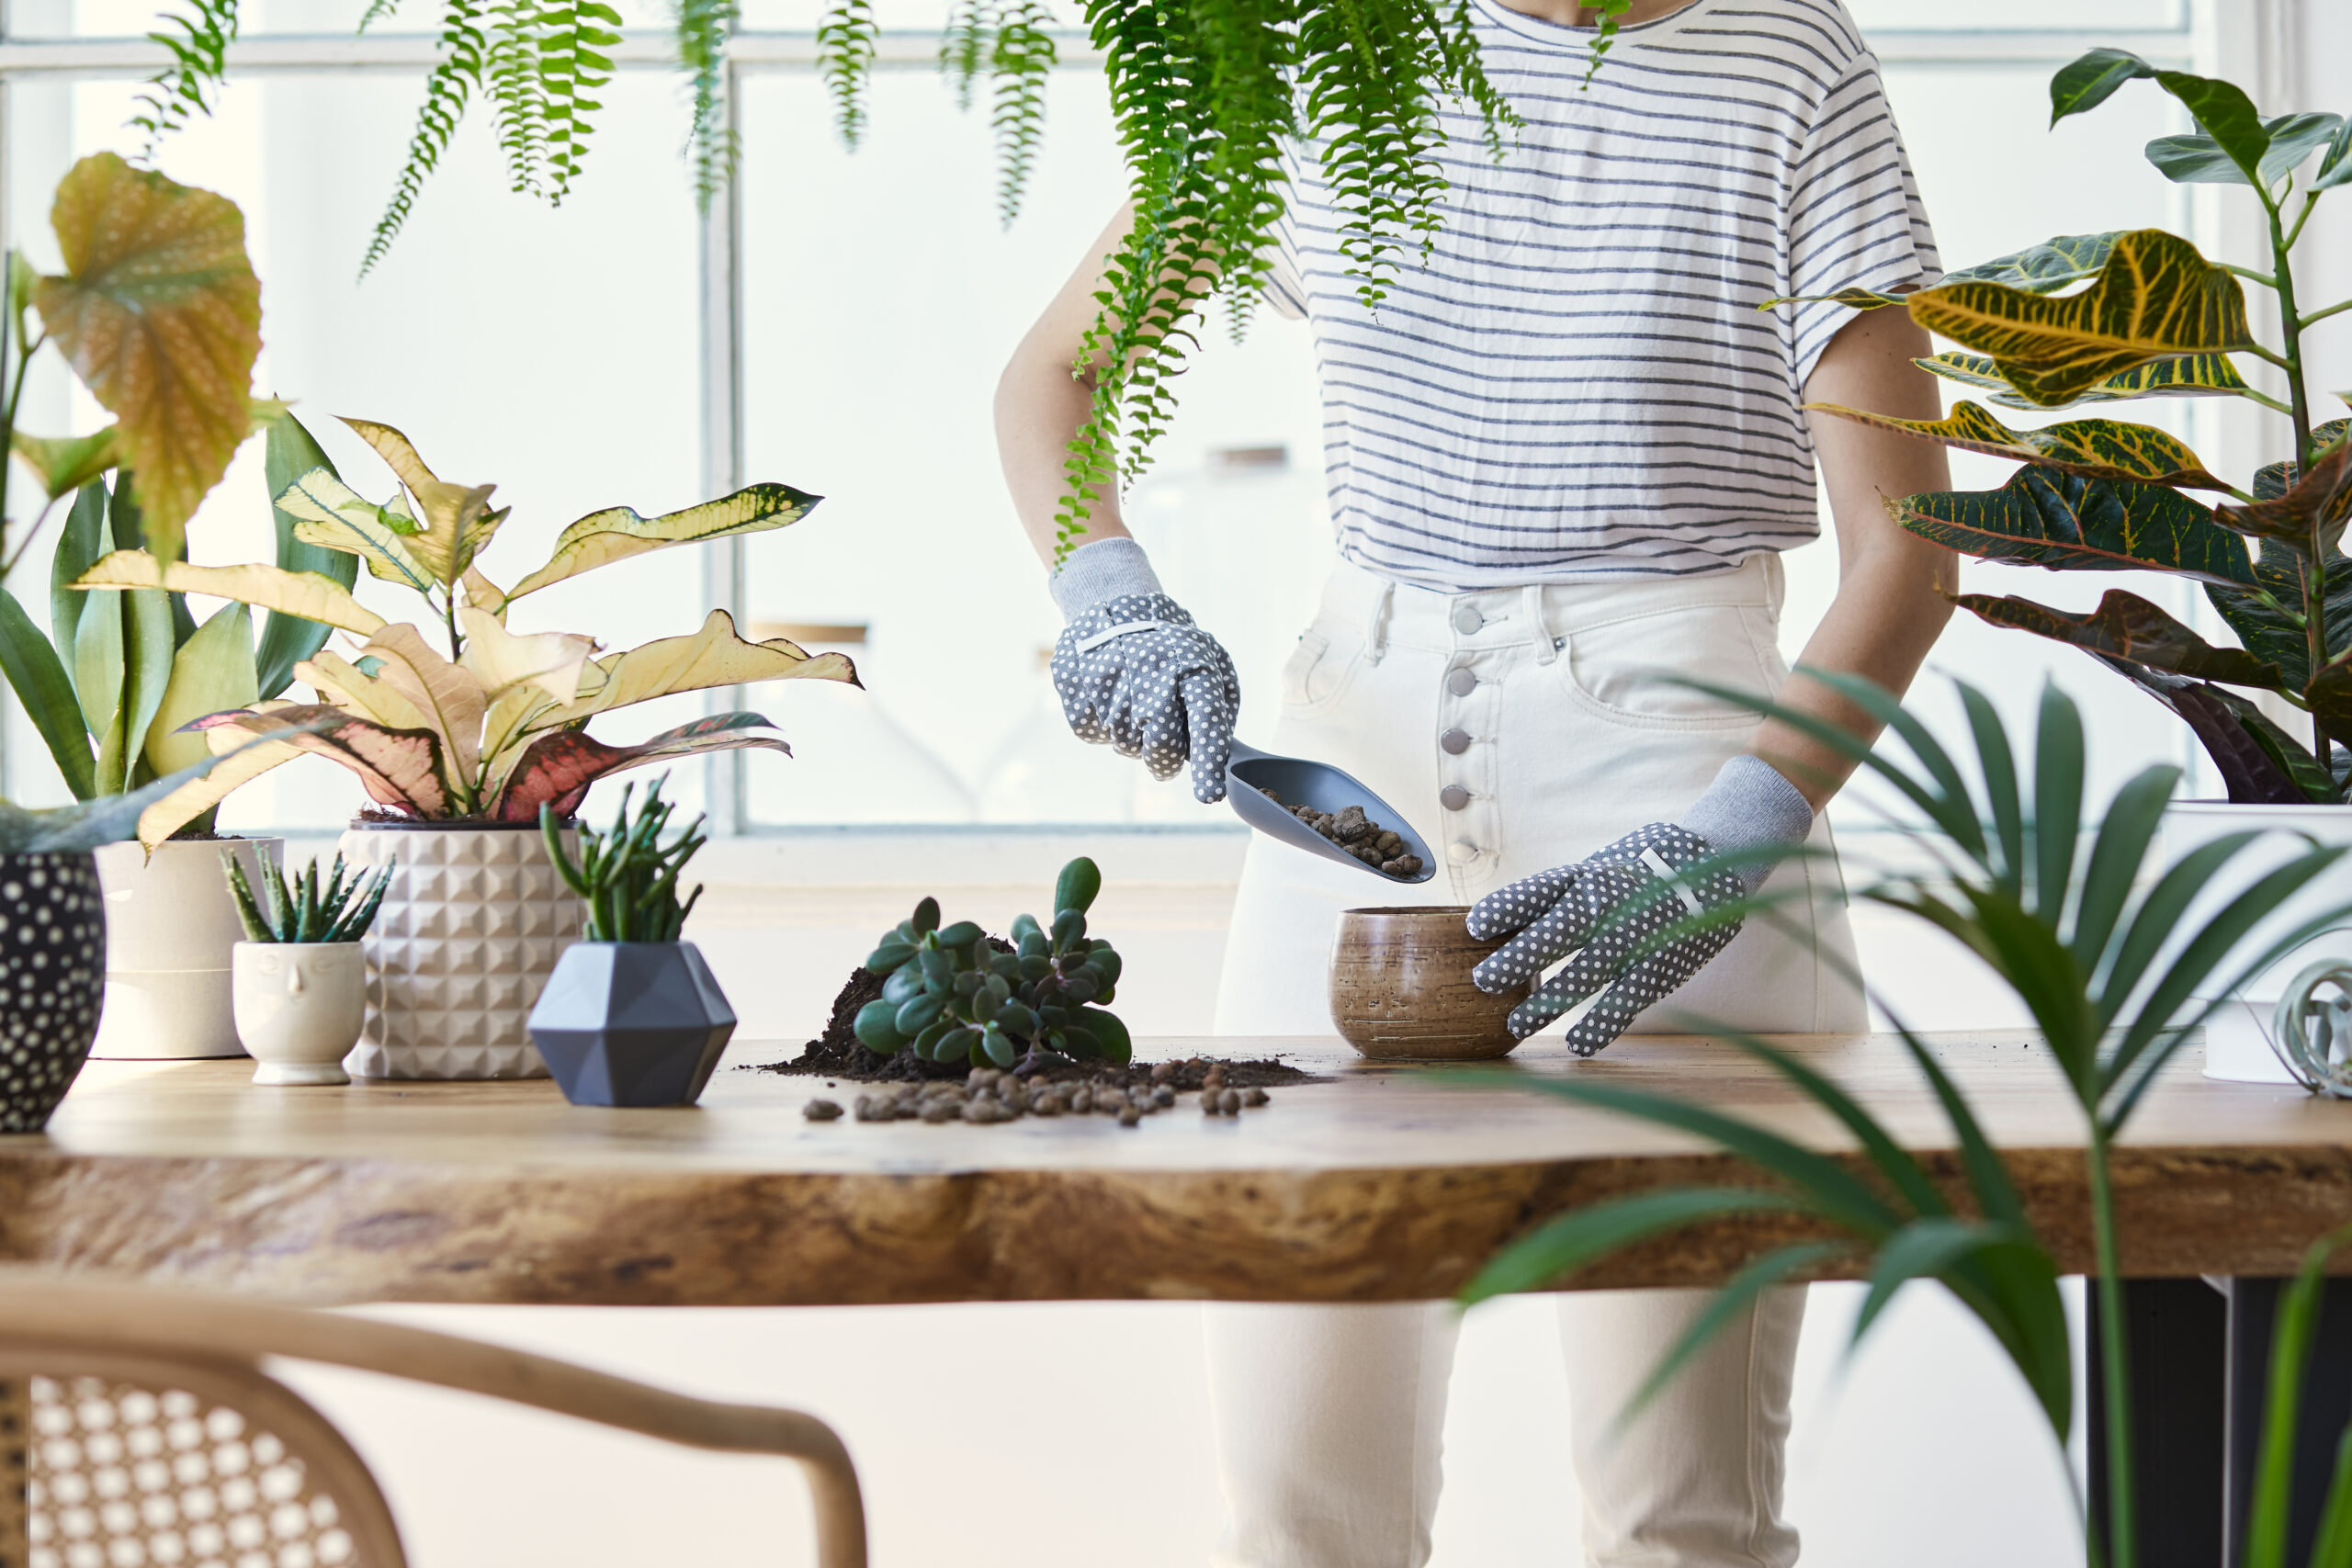
After selecting and preparing the seeds for planting, one can start growing microgreens. Using a small scoop or spoon, one must first lay a thin layer of growing medium on the bottom of the planting tray. Then, sprinkle seeds onto the growing medium and cover them with another thin layer of growing medium. Lightly but thoroughly water the microgreens.
Growing and Harvesting Microgreens
Once the seeds are planted, one must provide them with adequate conditions. The key elements of growing microgreens are regular watering, providing optimal temperature, and ensuring enough light. It is important to always keep the temperature between 60-75°F. Regular watering should be done only when the growing medium becomes dry to the touch.
Providing sufficient light is another crucial step of growing microgreens. Depending on the available light, one can either install a growing light above the seeds or place them in a window where enough light comes through. It is recommended to maintain the distance between the light source and the seeds of 6-12 inches.
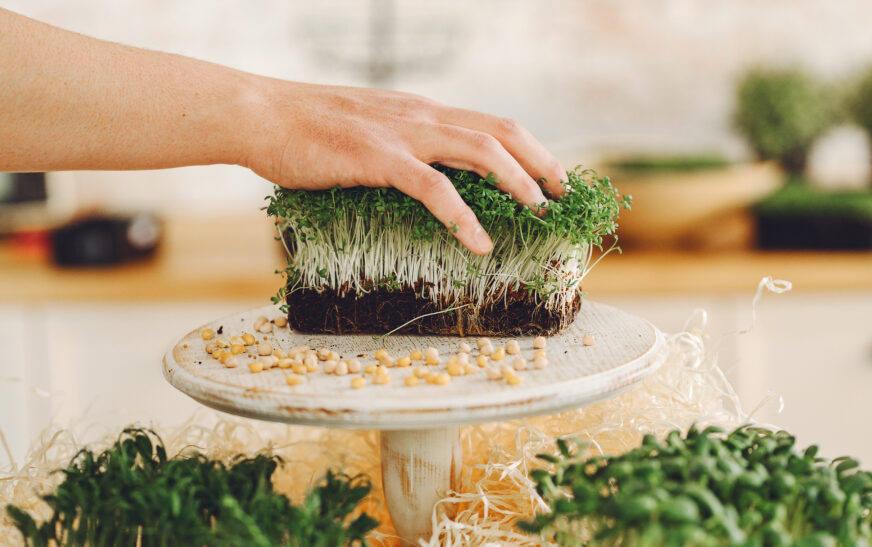
Harvesting microgreens is simple – one must just wait until the plants are ripe. Microgreens are considered ripe after 1-3 weeks from planting. After ripening, use scissors or knives to cut microgreens by the base.
Common Problems and Their Solutions
While growing microgreens at home can be easy, there might still be some difficulties one should be aware of. Some of the common problems one encounters include pests, diseases, and deficiency of nutrients. Pests include thrips and aphids. To fight these pests, one must use an insecticidal soap or neem oil. Diseases include downy and powdery mildews. Special fungicides for microgreens can be used for the elimination of disease.
Finally, one must also pay attention to the lack of certain nutrients during growth. To solve this problem, one must find a good fertilizer specially created for microgreens. It is important to look for the right ratios of nitrogen (N), phosphorous (P), and potassium (K). Additionally, pH of the fertilizer and the ability to stimulate healthy root growth are to be considered.
Tips and Variations
There are a number of growing mediums one can utilize while growing microgreens. Along with peat moss and vermiculite, one can experiment with rockwool. Additionally, different kinds of growing lights and even sunlight can be used to provide appropriate light conditions. One can try various growing techniques such as deep watering and drip irrigation.
Conclusion
Growing microgreens at home allows one to have access to healthy, rich in nutrients food. It does not require much effort to learn how to grow these crops at home. There are dozens of varieties of microgreens one can experiment with when planting and growing them at home.